Friday, April 30, 2010

The glass is here!

YAY!! As I sit in our kitchen writing this post, the crew from Clear Glass Creations is upstairs installing our NEW glass shower doors! I CANNOT WAIT to use the bathroom! I don't have photos of the glass yet, so I will leave you with these for now...We have finished painting and installed the toilet paper holder:


Greg was amazing-last weekend while I was at work he started AND finished installing the baseboards:


And NOW the glass is getting done! I will post photos hopefully over the weekend when it's all in and clean.

We have a little more work to do like finishing a built-in-niche, painting the ceiling around the rain shower, and installing the towel bars and rings, hopefully that'll get done this weekend.

*Amy

Tuesday, April 27, 2010

Boxwood Bliss

Although I have a Masters Degree in Sustainable Landscape Design and I LOVE native plants, there are some things I will never give up. This leads me to BOXWOODS. There is something so calming and beautiful to me about the Buxus species (both American and English). Although there are hundreds, maybe even thousands of cultivars and variations it seems that I love them all. Maybe not all equally, but they all have merit.
We have made MAJOR changes in this clients yard, all for the better and they couldn't be happier. We started on the front last week. Here was the before:


And here it is now, excuse the mess, my crew was installing irrigation lines, so that's why there's dirt everywhere. I will get back down there to take some good after photos now that everything is cleaned up and mulched.


I used LARGE English Boxwood, about $250 each to keep in with the style of the house, they like a very formal front garden and a looser private garden in the rear (the path from last week is their back yard.) So in between the boxwood are white carpet roses. They will be low to the ground and will bloom all summer. Clean, white and green. Beautiful!

*Amy

Sunday, April 25, 2010

Paint, easier than it looks

I'm sure we've all painted a room right? If not, perhaps we've just painted MORE than our share...We are VERY handy and are really lucky to have a mother and father-in-law who are too. They live in Naples, FL and every time they visit we beg, okay, bribe them to help. In all fairness, we don't have to beg and bribe much (maybe just some wine and beer...), they know we both work full time (in spring MORE than full time for me) and are more than happy to help us.


So, Susan (MIL) was here at the tail end of this bathroom renovation, of course not finished enough for us to use yet, but hey, it never works out that way right?? She is GREAT with color, design, etc. so she and I (after shopping and lunch of course) went to the paint store. Oh Benjamin Moore, how I love thee.

We have learned the hard way that paint looks VERY different on the paint deck than it does in a large swatch, and even different than it does throughout the day. So we paint posterboard with our top choices. We live with the colors on the posterboard for a day or so, looking at it in the morning, in the evening, and with and without the lights on. When we've narrowed it down, we'll head to the paint store. Here I am doing the "testing"


Here are two of our choices:
Sandy Shores and Monroe Bisque


And here were the other two:
Wood Ash, and one my MIL actually invented, we stole it from her and our Master Bedroom is painted the same color.


After much deliberation we decided on...Wood Ash. I will put up photos this week, so stay tuned!

*Amy

Tuesday, April 20, 2010

Pathway Perfection

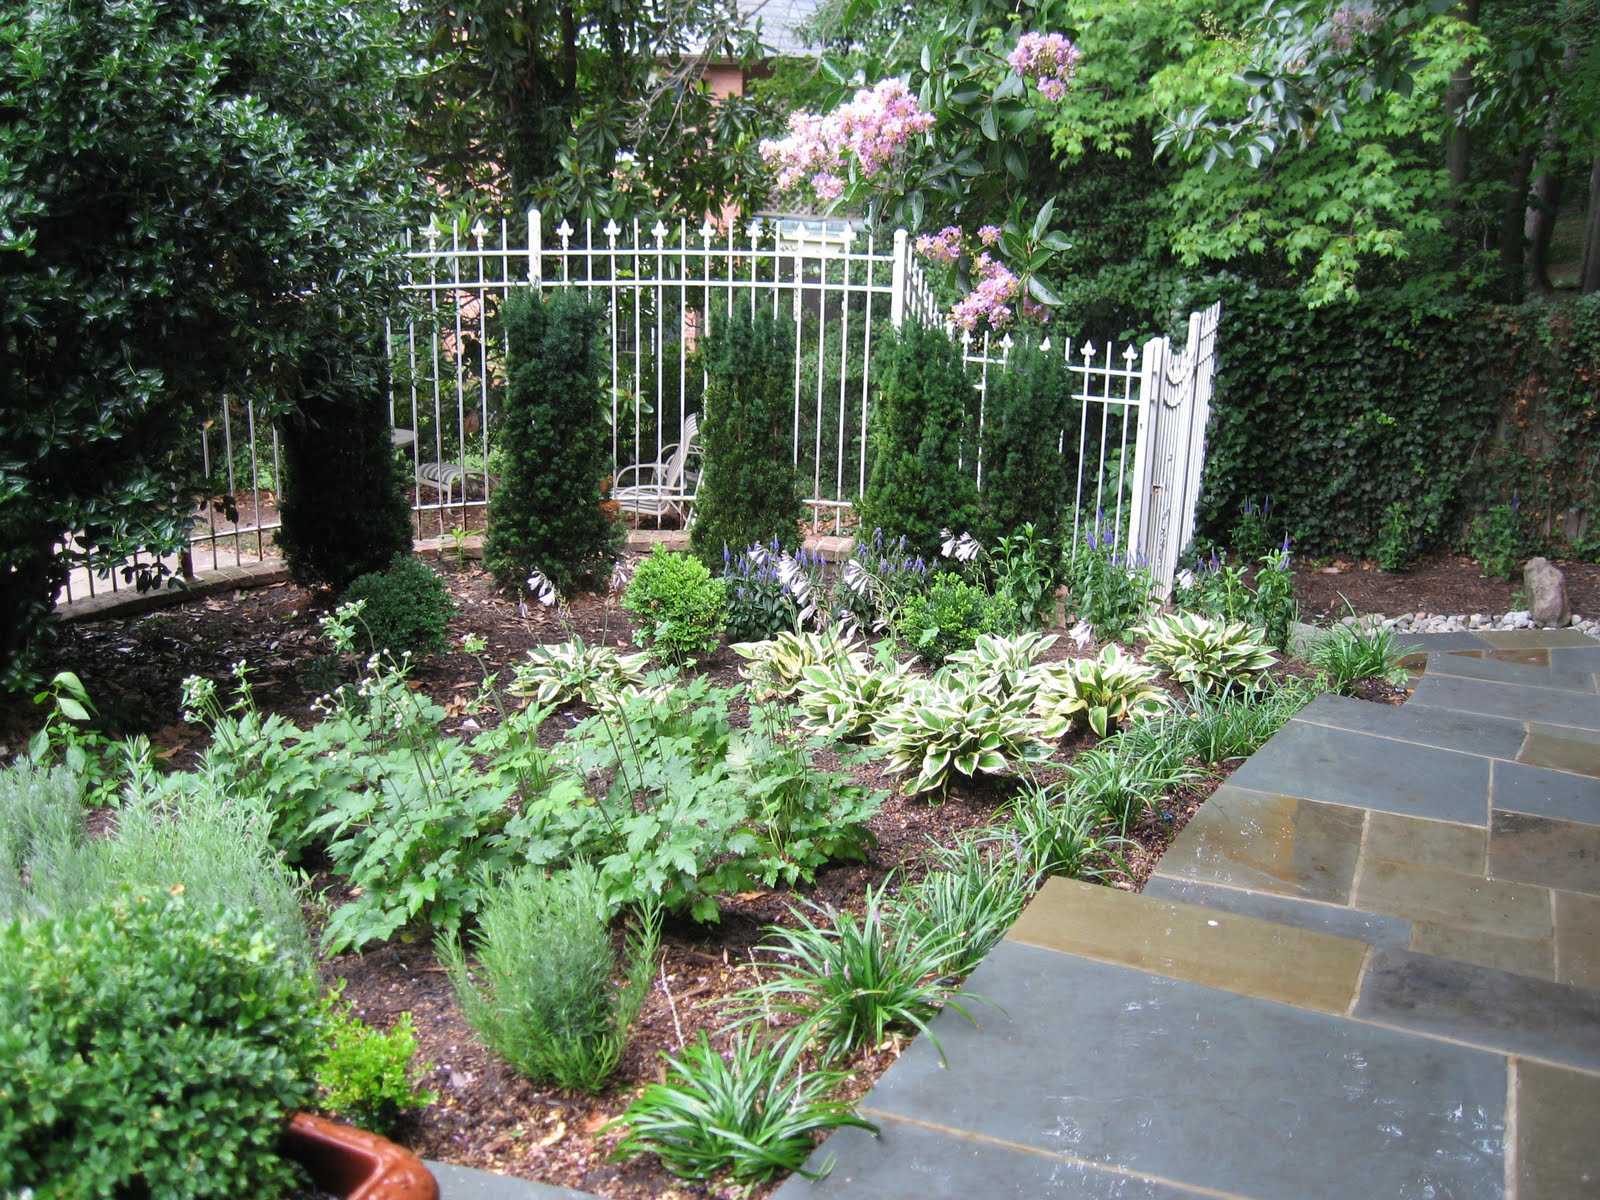
I was lucky enough to get some AMAZING clients in 2007 who have let me completley overhaul their yard over the past several years. They came to me "needing a path." Now any of you in design know that often a client doesn't even know what they need-which is why they called me. They needed more than a path! This was the area when I started:


And here are some photos this past summer:


What a difference a path makes! I will post some photos of the front yard when I get back down there, hopefully this week, the photos with the irrigation flags aren't all that exciting ;0

*Amy

Sunday, April 18, 2010

Gardening Under Glass


Sunday night I taught a seminar on "Gardening under Glass", a how-to on building your very own Terrarium (I made all the ones in my photos). This is a long post, but a good one!


I know terrariums are a HOT topic right now and Frances (the owner of The Pear Tree Cottage) was sweet enough to organize it and be our gracious host. This is she and I after the seminar was over and before a glass of wine. :)


I will include my write up on the steps and ingredients below, but feel free to check out some of the COOL things she has in her shop along with the beautiful terrariums I made while there.

Gardening Under Glass

Terrarium Workshop hosted by: The Pear Tree Cottage
Taught by: Amy Strunk, Landscape Designer

Items to get you started:
Glass container with or without a top
Gravel, sea glass, pebbles
Activated charcoal
Terrarium plants
Sterile potting mix
Moss (optional)
Decorative elements (optional)

Step 1:
Wash and dry your container well. Add a layer of moss to the bottom of the container, it will act as a sponge to soak up any water and it looks nice.

Step 2:
Layer about 2” of gravel or stones in the bottom.

Step 3:
Add your active charcoal next. This will help drainage in this little eco-system and will also help control any odor that may occur.

Step 4:
Add another layer of moss. This is optional, some people like the green in the jar, and some people don’t. If you’re not adding moss, now is the time for your potting mix. Preferably a few inches so the plants are able to root and establish.

Step 5:
Plant placement-will your terrarium have a front and back or will it be viewed from all sides? Think about layering your plants, tallest in the back, middle next and lowest in front. Or move from left to right.

Step 6:
Get those plants in there! Remove them from their pots, tease the roots and gently place them in the potting mix. You may have to do some pruning, that’s okay; it will help keep the plants the correct size for the space.

Step 7:
Tamp down your soil, you don’t want to leave any air pockets. I like to use my hands, but you can also use chopsticks or a long spoon to make sure the soil is tight next to the plant roots.

Step 8:
Water your plants lightly. You can mist them with a spray bottle to dampen them, just make sure to clean any water off the sides of your glass, you want to be able to have a great view of your new piece of living artwork!


Do you see the frog prince I tucked into the back of this one??

I'll put up a photo of the one I have in my living room later on this week, so check back! *Amy

Bathroom Update

So we are making progress on the bathroom, but came to a standstill tonight when we realized the drawer pulls we liked did not have the correct screws to go through the drawers, UGGGHHH. When you're THISCLOSE to finishing a project you just want to be done. But I know, I know, it needs to be right. And of course we're going to find the right solution, but we're anxious!

In the meantime, I'll give you something happy to check out, the progress pictures of our Master Bathroom redo.


A great friend of ours JR (in photo above), also happens to be an electrician-SOOOO happy to have him as a friend! He came over to help us switch out some ugly outdated 1980s fixtures and update them to can light CFL's (Compact Fluorsecent Lightbulbs) a much more energy effifient light and not to mention a WHOLE lot brighter. Although we did put them on a dimmer switch so we're not blinded in the morning when we first get in there.

There is never a dull construction job, as this is what he found when he took out one of the lights:


Yes, your eyes are not deceiving you, that is a BEER can, Budwiser no less, I mean obviously "The King of Beers" is in everyone's ceiling??

He also hooked up our heated floor and installed a thermostat so it will turn on by itself before we arise in the morning so we have toasty toes in the winter, ahhh, I cannot wait!

In other exciting news...

The cabinets and the granite are in:


And the tile is done!


So I will leave you with that for now and will of course update again when we've made even more progress.

Enjoy the last few hours of the weekend!

*Amy

Wednesday, April 14, 2010

Dwell Studios

So I found this great blog In Stitches through another blog, isn't that how the blog world works...Not only does she have some great ideas, but she's also hosting a giveaway. Now being the meticulious cleaner that I am, these coasters from Dwell Studio on All Modern's website would look GREAT in my house, and keep my coffee tables and end table spot free! However, they could also look great in your house, so go check out this great blog and enter to win!


Gate Coaster in Java


Gate Coaster in Sun

Pop on over and check it out! Off to DC I go to install some BIG boxwoods, I will do my best to take some photos and post what I've been working on tomorrow.

*Amy